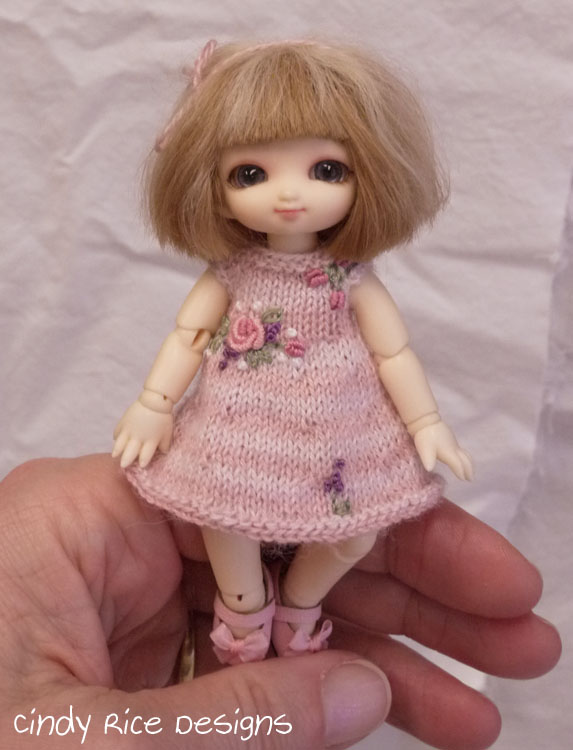
Say you have a pattern for a doll dress or sweater, but you want to use a different yarn than the one specified. Or, you want to use a smaller needle size than the one specified. If I want a denser fabric I will go down one needle size. You can refigure the pattern for your new yarn or needle size change. I recommend small changes to begin with. My yarn changes are usually very minimal and needle changes are up or down one size.
I almost always start knitting from the top down (neckline), so that is how I will explain this example to you. The first pattern change you will need to make will be the cast on number. Here’s a quick overview of what I do.
To start, you’ll need the gauge and the cast on number for the original, so write that down on a piece of paper. You’ll also have to figure the new gauge using the new needles and/or yarn that you’ll be using. I use 1″ for measuring gauge for doll clothes even though 4″ is used in the industry for human sized clothes. So, knit a swatch (larger than an inch) and figure out your new gauge and write that down. Hopefully you already know how to swatch and figure gauge. Staci at Very Pink Knits has a You Tube video about figuring gauge here if you need a refresher.
Here is an example using made up numbers for refiguring the number of cast on stitches. Your original pattern gauge is 10 stitches/1″. The pattern says to cast on 30 stitches for the neckline. You need to figure out how many inches the neckline needs to be. This is the equation: 30 (cast on number) divided by 10 (stitches per inch gauge) is 3″. This means you’ll need to recreate 3″ with the new yarn/needles. You have hopefully figured out your new stitch gauge and it is (for example) 12 stitches/1″. (FYI, when you get more stitches per inch, the stitches are smaller because more stitches fit within 1″, so your fabric will be stiffer and denser.) Take the new stitches per inch (12) and multiply by the inches you need for the neckline (3″). 12 x 3 =36 You’ll need to cast on 36 stitches with the new yarn and/or different needles to get the 3″ for the neckline.
Figuring rows uses the same equation. If you’re going in the reverse direction, larger needles and/or yarn, the same equation will work. Sometimes you will need to round the stitch counts or row counts up or down. Usually it is close enough as knitwear stretches.
Here’s some homework for you: Answer is below.
Original pattern gauge is 14 stitches per inch and cast on 60 stitches. Figure new cast on number. The yarn you want to use has a gauge of 13 stitches per inch. Your new yarn is a bit bulkier and you are getting less stitches per inch. How many stitches should you cast on?
Answer: About 56 stitches (60 divided by 14 = 4.28″; 4.28 x 13 = 55.64) You can make the decision to round up or down, depending on if you need an even or odd number of stitches. In some cases it doesn’t matter.